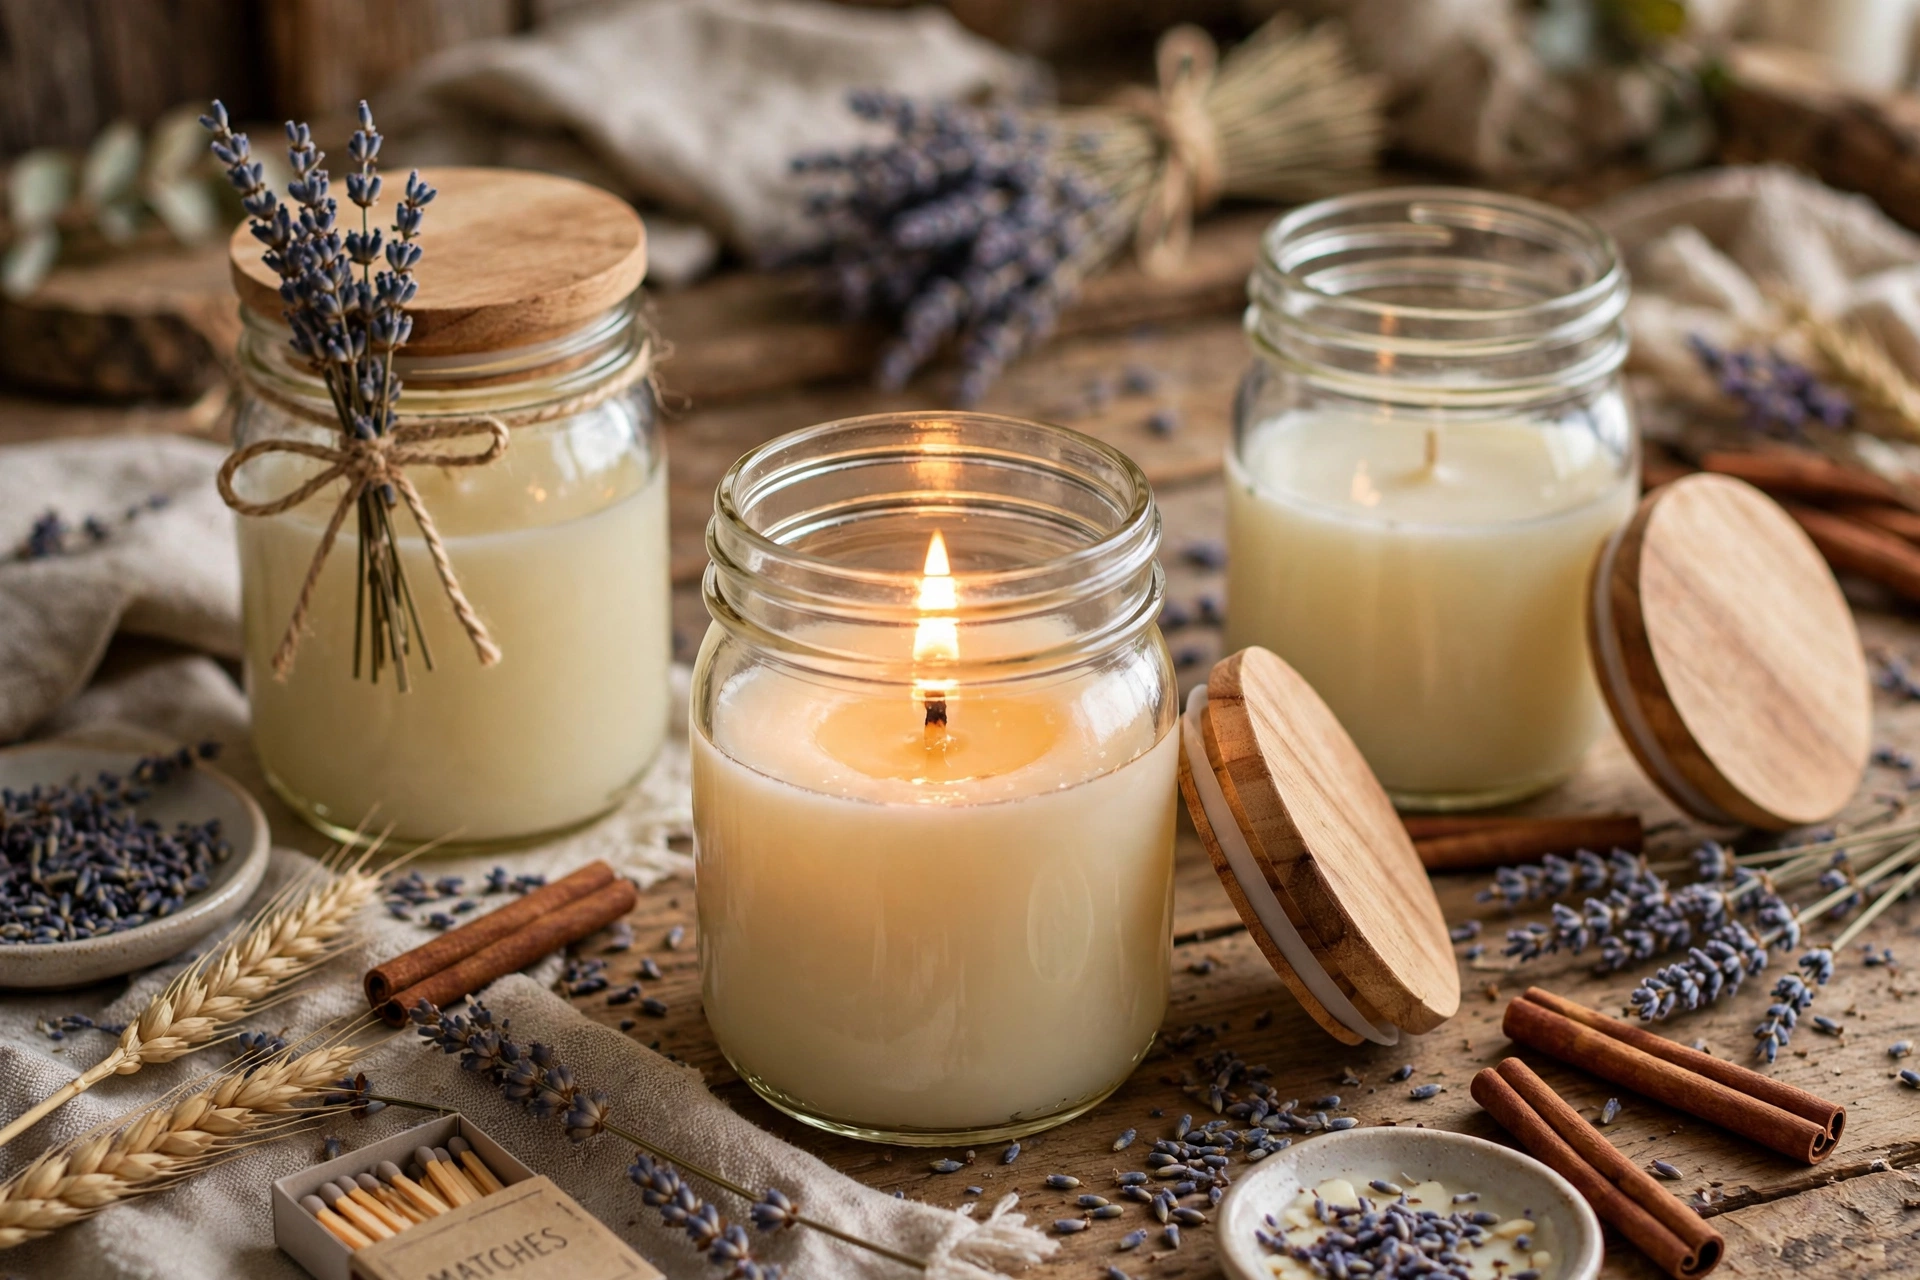
There is a particular cozy that only a lit candle gives you — warm flicker on a rainy evening, vanilla or apple drifting through the room. Store-bought soy candles run $12 to $25 each, which adds up fast in fall and winter. Making your own costs about $2–$3 per candle and takes roughly an hour of hands-on time (plus cooling and curing while you do other things).
🍂 Light your new candles and settle in with our 25 cozy fall living room decor ideas.
Genuinely beginner-friendly — no special skills or pricey equipment. What it does require is respect for hot wax (about 170°F) and flammable fragrance oils. Read the safety notes below and follow the temperatures.
Safety First (Please Read This)
- Never leave melting wax unattended. Treat it like a pot of oil on the stove — stay in the kitchen while it melts.
- Never melt wax in a microwave or directly on a burner. Always use a double boiler — direct heat can scorch the wax or overheat it fast.
- Keep a thermometer in the wax. Soy wax should never exceed 200°F; if it smokes, remove from heat immediately.
- Fragrance oils are flammable — add them off the heat, away from open flame.
- Keep kids and pets out of the work area while wax is hot, and let finished candles cool somewhere they cannot be knocked over.
What You’ll Need (Materials)
- 2 lbs natural soy wax flakes — makes about four 8-oz candles. Buy 100% soy (not a soy-paraffin blend); a 5-lb bag (~$15–$20) is the best value and covers roughly ten candles.
- Cotton wicks with metal tabs — sized for your container (CD-8 or ECO-10 is typical for an 8-oz jar; check supplier sizing guides). A 50-pack costs ~$8. Too small tunnels; too large smokes — size matters.
- Fragrance oil made for candles — 4 oz bottle (~$6–$10). Use 1 oz per pound of wax. Buy phthalate-free oils from candle suppliers or craft stores — not essential oils, which mostly burn off without scent.
- A pouring pitcher — a metal or heat-safe pitcher with a spout (~$8–$12). Doubles as your double boiler insert.
- A kitchen thermometer — a basic candy/clip-on thermometer ($8) is perfect.
- Containers: 8-oz mason jars, tins, or cleaned old candle jars. Never use containers that can crack, melt, or leak.
- Clothespins, chopsticks, or wick holders — to hold wicks upright while the wax sets.
- Wick stickers or a dab of hot glue — to anchor wicks to the bottom of the jar.
How to Make Soy Candles, Step by Step
Step 1: Prep your containers
Wash and dry your jars. Stick a wick tab to the exact center of each jar bottom with a wick sticker or hot glue, and hold the wick upright with a clothespin or chopstick across the mouth. Set jars on a baking sheet to catch drips. Done looks like: wicks standing vertical and centered.
Step 2: Melt the wax
Simmer a few inches of water in a pot and set your pitcher of wax flakes inside (double-boiler style). Stir occasionally until the wax reaches 170–180°F and no flakes remain. Done looks like: clear, fully liquid wax.
Step 3: Add fragrance
Remove from heat; at about 150°F, add 1 oz of fragrance oil per pound of wax and stir gently for a full 2 minutes. Do not rush — under-stirring means weak, uneven scent.
Step 4: Pour
Cool to 135–140°F, then pour slowly into your jars, keeping wicks centered. Leave ½ inch of headspace. Done looks like: smooth, even surfaces, wicks still centered.
Step 5: Cool undisturbed
Let candles sit at least 4 hours (overnight is ideal) at room temperature. Do not move them or refrigerate them — rapid cooling causes sinkholes, cracks, and wet spots. Patience here is the difference between homemade-looking and store-bought-looking candles.
Step 6: Trim and cure
Trim every wick to ¼ inch, then cure 1–2 weeks — soy wax needs this time for the fragrance to bind fully. Cured candles smell noticeably stronger. Store them in a cool, dark spot.
Tips for a Pro Finish
- Temperature is everything. Melt at 170–180°F, fragrance at 150°F, pour at 135–140°F. A $8 thermometer is your best investment.
- Center the wick obsessively. An off-center wick melts unevenly and can overheat the glass. Check centering right after pouring and again 10 minutes later.
- First burn rule: let the wax melt all the way to the edge (usually 2–3 hours). Soy wax has “memory” — a tunneled first burn tunnels forever.
- Fix sinkholes with a second pour. After cooling, poke relief holes around the wick with a skewer and re-pour a little reserved wax. Totally normal — even pros do this.
Troubleshooting
Wet spots on the glass. Cosmetic and very common with soy — the wax cools faster than the glass. Pouring at 135–140°F and cooling slowly at room temperature minimizes it; it does not affect the burn.
The candle tunnels. The wick is too small or the first burn was too short. Size up one wick size and always burn to a full melt pool. Scoop leftover wax from a tunneled candle and re-pour it into a smaller jar.
Weak scent throw. Usual suspects: fragrance added to wax that was too hot, under-stirring, or burning before the 1–2 week cure. Stick to 1 oz per pound — more does not help and can cause sweating.
FAQs
Are soy candles safer than paraffin candles?
Soy wax is plant-based and burns cleaner with less soot than petroleum-derived paraffin. That said, any burning candle needs the same precautions: never leave it unattended, keep it from drafts and flammables, and trim the wick to ¼ inch before each burn.
Can I reuse old candle jars?
Yes — freeze the jar a few hours, pop out leftover wax with a butter knife, wash with hot soapy water, and remove the old wick tab. Just make sure the glass has no cracks.
Can I use essential oils instead of fragrance oils?
You can, but most essential oils burn off in hot wax, giving little scent for a lot of money. Candle-specific fragrance oils are formulated to survive the heat and are far more cost-effective.
Why is my candle “sweating”?
Tiny oil beads on the surface mean too much fragrance oil or temperature swings while cooling. It is harmless — blot gently with a paper towel. Next batch, stick to 1 oz per pound and cool at steady room temperature.
Homemade candles make any room cozier — see 10 Cozy Living Room Ideas on a Budget for more, and our 10 Easy Mason Jar Crafts for jar ideas. Pin this guide to your DIY board on Pinterest!