My first apartment kitchen was so small I could touch both walls if I stretched. One drawer stuck, the cabinet under the sink smelled like old sponge, and I owned exactly one square foot of counter space — which the coffee maker had claimed as its sovereign territory. Cooking in it felt like playing Tetris with hot pans.
🍂 Organized? Now make it beautiful too — 20 small kitchen decor ideas that feel bigger.
Here’s what I wish someone had told me then: a small kitchen doesn’t need to be bigger. It needs to work harder. Every inch has to earn its keep, every tool needs a home, and the stuff you don’t use has to leave. These 10 ideas are the ones that actually survived contact with my real, tiny, heavily-used kitchen — tested, renter-friendly, and mostly cheap. Whether you’re in a galley kitchen, a studio apartment, or just a house with a kitchen from 1972, save this to your Kitchen Pinterest board and let’s make every inch count.
1. Organize by Zones, Not by Type
Stop grouping “all the baking stuff together” and start grouping by where you actually stand. Create a prep zone (knives, cutting boards, mixing bowls near the main counter), a cooking zone (pots, pans, utensils, oils near the stove), and a cleanup zone (dish soap, towels, drying rack near the sink).
Why it works: You stop walking laps around the kitchen. When every tool lives where you use it, cooking gets faster and cleanup gets less annoying — which means you’ll actually cook instead of ordering takeout.
Budget move: Free — it’s just rearranging. Styling tip: Do this first, before buying any organizers. Half of “needing more storage” is actually just stuff living in the wrong zone.
2. Go Vertical With Storage
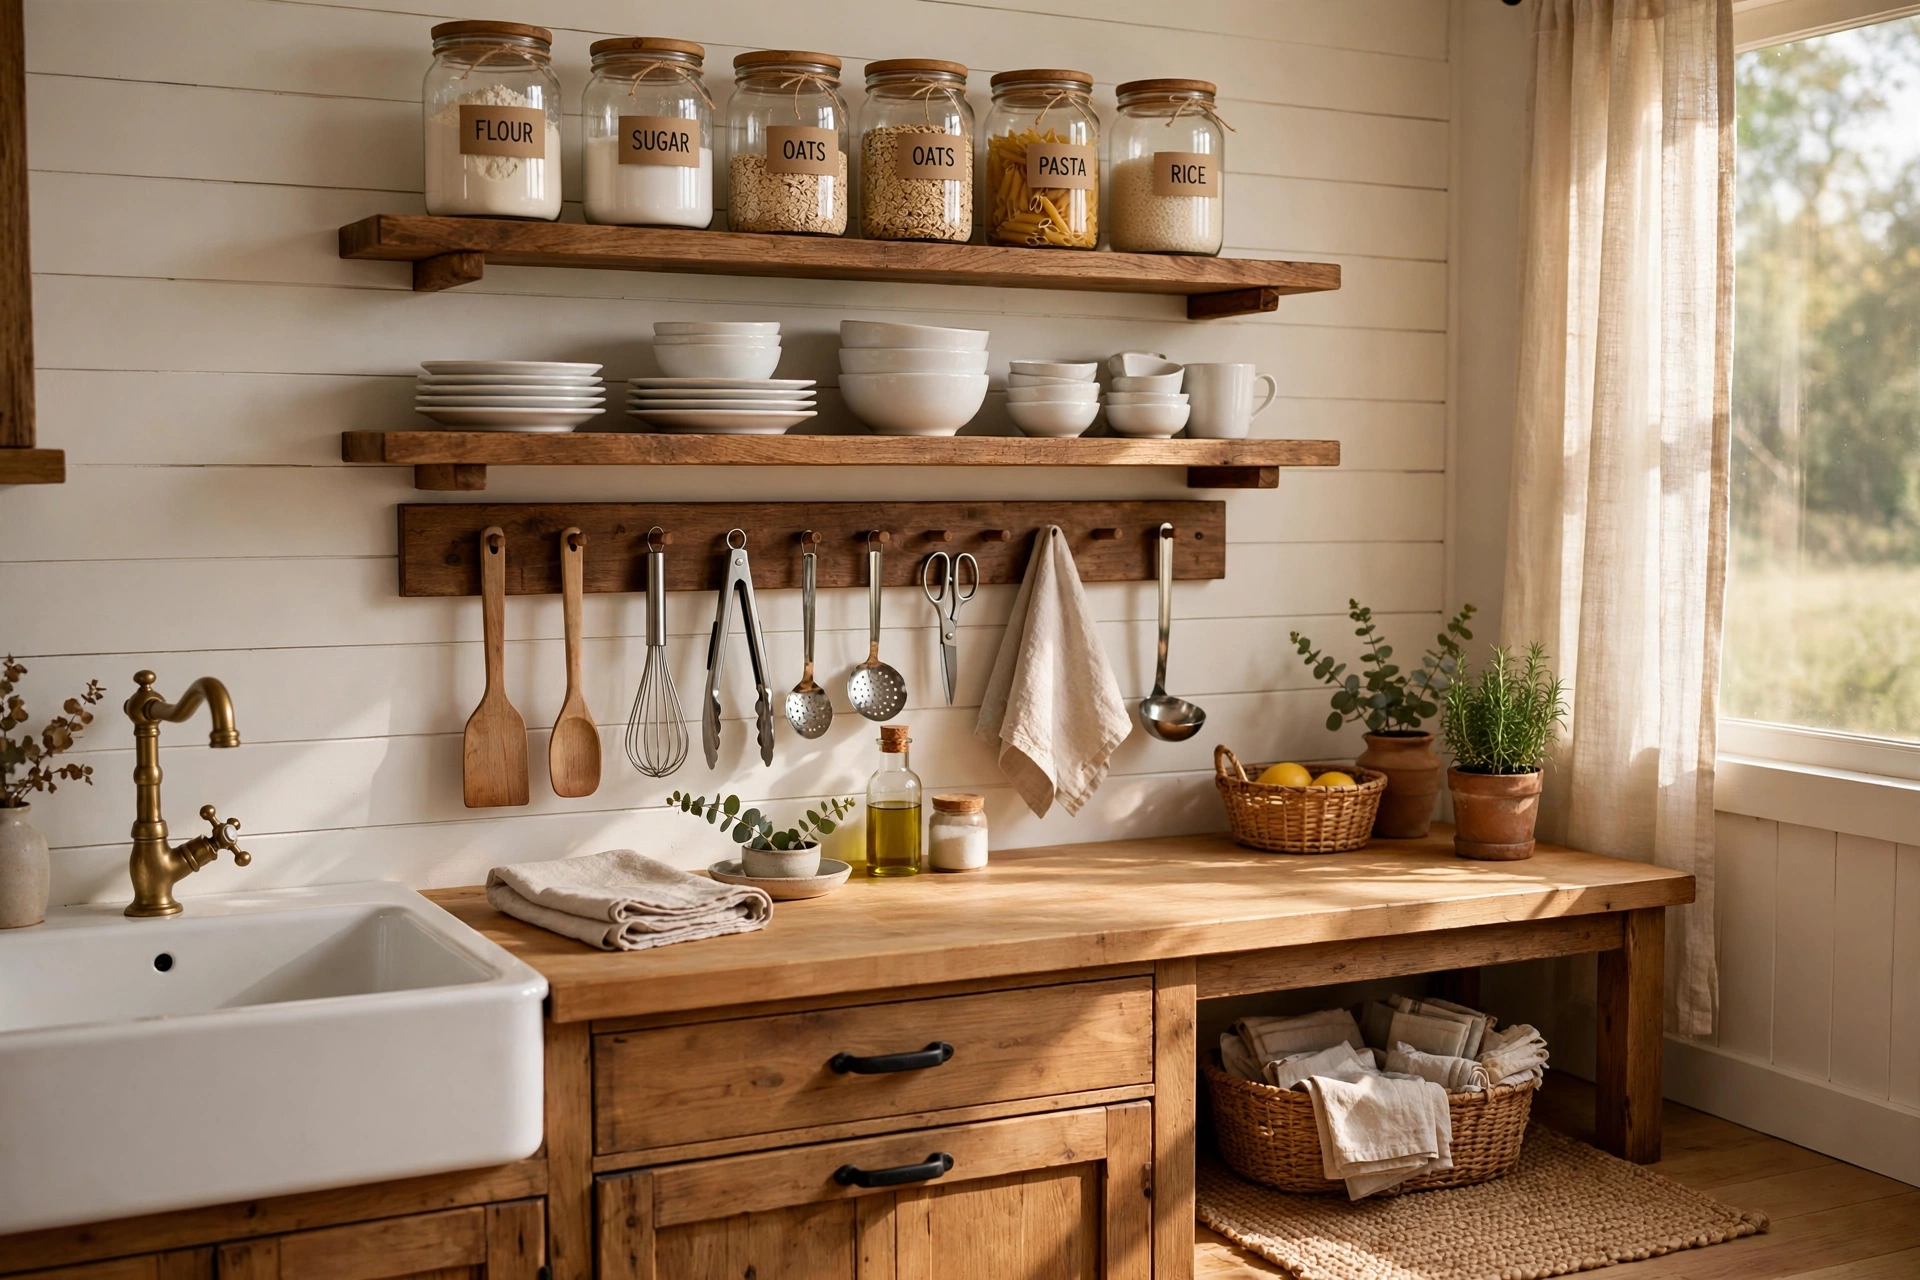
Small kitchens run out of horizontal space fast, but the walls are usually empty. A pegboard for utensils, a magnetic knife strip, or two floating shelves can add the equivalent of an entire cabinet.
Why it works: Vertical storage puts frequently-used tools at eye and hand level instead of buried in a deep cabinet. It also turns your tools into decor — a row of wooden spoons on a pegboard looks charming, not cluttered.
Budget move: A magnetic knife strip is $12–$18, a small pegboard kit with hooks runs $20–$30. Renters: use heavy-duty adhesive strips or a tension-rod shelf instead of drilling. Styling tip: Keep vertical displays to things you actually use weekly. Display-only items in a working kitchen just collect grease.
3. Divide Every Drawer
Bamboo drawer dividers turn a junk drawer into compartments where everything has an assigned spot. The “one big drawer of chaos” becomes six small zones of order.
Why it works: Drawers without dividers have a law of physics: everything migrates to the back and tangles. Dividers break that cycle. You’ll stop buying duplicate spatulas because you can actually see the two you already own.
Budget move: An adjustable bamboo divider set runs about $15 and fits most standard drawers. Styling tip: Leave 10% of each drawer empty. A drawer packed edge-to-edge is a drawer you’ll dread opening.
4. Get an Over-the-Sink Roll-Up Dish Rack
This is the single best $25 upgrade for a small kitchen. A roll-up silicone-and-steel rack sits over your sink for drying dishes, then rolls up into a tube and disappears when you’re done.
Why it works: Traditional dish racks eat a full square foot of counter permanently. The roll-up version gives you that counter back the other 22 hours of the day. It also doubles as a trivet for hot pots and a rinse station for produce.
Budget move: About $20–$25 on Amazon; measure your sink first — they come in several widths. Styling tip: Roll it up after every use. The magic is in the disappearing; a rack left out permanently is just a different kind of clutter.
5. Decant Into Clear Uniform Jars
Pour flour, sugar, rice, pasta, and snacks out of their mismatched bags and boxes into uniform glass jars. Suddenly your pantry or open shelf looks like a magazine shoot.
Why it works: Uniform containers eliminate visual noise — your eye reads “one calm system” instead of “twelve shouting packages.” Bonus: you can actually see when you’re running low on rice.
Budget move: Mason jars are $10–$12 a dozen and work perfectly — plus they double as decor. Our mason jar craft ideas have pretty labeling and lid ideas if you want to take it further. Styling tip: Only decant what you buy regularly. That one bag of specialty flour you use twice a year can stay in the bag.
6. Hang Your Pots (If Your Ceiling Allows)
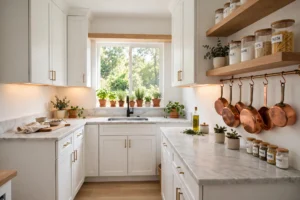
A ceiling-mounted rail or wall-mounted rack for pots and pans can clear an entire cabinet. This is the highest-impact storage move on the list — if your space allows it.
Why it works: Pots are the bulkiest things in a kitchen and the hardest to store. Hanging them frees a full cabinet for everything else, and you stop playing pot-lid Jenga every time you cook.
Budget move: A basic ceiling pot rail with hooks runs $25–$40. The honest trade-off: you MUST anchor into studs or ceiling joists — drywall anchors will eventually fail under the weight, possibly onto your head. Renters or anyone unsure about their ceiling should skip this one and use idea #9 instead. Styling tip: Hang only the 3–4 pans you use weekly. The fondue pot from 2015 can live in a closet.
7. Use the Inside of Cabinet Doors
The inside of every cabinet door is free real estate. Stick-on hooks and slim racks hold lids, spices, measuring cups, and cleaning supplies — all for under $10.
Why it works: It’s storage that doesn’t take up a single inch of shelf or counter. Spice racks on the inside of a door near the stove are genuinely life-changing — no more digging through a dark cabinet mid-sizzle.
Budget move: Adhesive hooks and slim wire racks run $8–$12 total. Use removable adhesive if you rent. Styling tip: Keep door storage shallow — anything deeper than 2 inches will bang against the shelves when you close the door.
8. Build a One-Tray Coffee Station
Corral the coffee maker, mugs, sugar, and spoons onto one tray in one spot. Your whole morning routine lives in a single contained zone instead of sprawling across the counter.
Why it works: The coffee station contains the morning chaos. Everything you need is in arm’s reach, and the tray boundary keeps it from colonizing the entire counter by 8 a.m.
Budget move: A simple wooden tray is $12–$18; thrift one for $4. Styling tip: This works for tea drinkers too — kettle, tea box, honey, and your favorite mug on one tray. The principle is the same: contain the ritual.
9. File Your Lids Like Books
A $12 vertical lid organizer lets you file pot lids upright like books on a shelf instead of stacking them in a wobbly tower. You’ll never dig for the right lid again.
Why it works: Stacked lids are the #1 cause of cabinet avalanches. Filed vertically, every lid is visible and grabbable with one hand — even mid-cooking with the other hand full.
Budget move: About $10–$12; a simple tension-rod hack inside a cabinet works too. Styling tip: Put the organizer in the cabinet closest to the stove — lids belong in the cooking zone (see idea #1).
10. Do the 15-Minute Purge First
Before buying a single organizer, set a timer for 15 minutes and pull out everything you don’t use: chipped mugs, the third spatula, the bread maker from 2019, single-use gadgets. Donate, toss, or relocate.
Why it works: No organizer can fix too much stuff. Most small kitchens feel cramped because they’re storing things nobody uses. Purging first means every organizer you buy actually solves a real problem.
Budget move: Free — and you’ll probably find the missing measuring cup while you’re at it. If you’re in a decluttering mood, our upcycled furniture projects include clever ways to repurpose old furniture into extra kitchen storage on a budget. Styling tip: The one-year rule: if you haven’t used it in a year and it’s not seasonal (looking at you, turkey roaster), it goes.
Shop Smart: What This Actually Costs
A fully organized small kitchen, honestly priced:
Under $15: bamboo drawer dividers ($15), inside-door hooks and racks ($8–$12), lid organizer ($10–$12), mason jars by the dozen ($10–$12)
$15–$30: magnetic knife strip ($12–$18), roll-up dish rack ($20–$25), pegboard kit ($20–$30), coffee tray ($12–$18)
$25–$40: ceiling pot rail ($25–$40)
Free: zone organizing, the 15-minute purge
Total for everything: roughly $120–$150. But start with the free stuff (zones + purge) and the dish rack — those three alone will make your kitchen feel twice as functional.
Common Mistakes to Avoid
1. Buying organizers before purging. This is the #1 small-kitchen mistake. Organizers for stuff you don’t need just create organized clutter. Purge first, always.
2. Storing things where you don’t use them. The cutting boards live near the prep counter, not across the kitchen because “that’s where cutting boards go.” Zones beat categories, every time.
3. Hanging pots from drywall. Worth repeating: pots are heavy. No studs, no hanging rail. A falling cast-iron skillet is not a decor problem, it’s an emergency room problem.
4. Decanting everything. Decant the five staples you use constantly. Decanting all 30 spices, three kinds of specialty flour, and the quinoa you bought on a health kick just creates 30 jars to wash and refill. Be selective.
Frequently Asked Questions
How do I organize a small kitchen with no pantry?
Think in zones and go vertical: uniform jars on open shelves or a rolling cart for dry goods, inside-door racks for spices, and a pegboard for tools. A slim rolling cart ($30–$40) that slides into a gap beside the fridge can act as a mini-pantry.
What’s the best renter-friendly kitchen organization?
Adhesive hooks and racks (inside cabinet doors), a roll-up over-sink dish rack, drawer dividers, uniform jars, and a coffee tray. Everything comes with you when you move, and nothing requires drilling.
How do I maximize cabinet space in a tiny kitchen?
Add a second layer inside deep cabinets with shelf risers ($10–$15), file lids vertically instead of stacking, and move rarely-used items (holiday platters, specialty appliances) out of the kitchen entirely — a hall closet works fine.
Should I hang my pots and pans?
Only if you can anchor into studs or joists, and only the pans you use weekly. If you’re renting or unsure about your ceiling, a vertical lid organizer plus a pot lid rack inside a deep drawer is the safer move.
How often should I purge kitchen gadgets?
Once a year is plenty for most people. I do mine every January — anything unused for a full year gets donated. The 15-minute purge from idea #10 is a good quarterly reset if your kitchen tends to accumulate.
Pin this to your Kitchen Organization board — and tell me your best small-kitchen trick in the comments. The collective wisdom of tiny-kitchen survivors is unbeatable.