
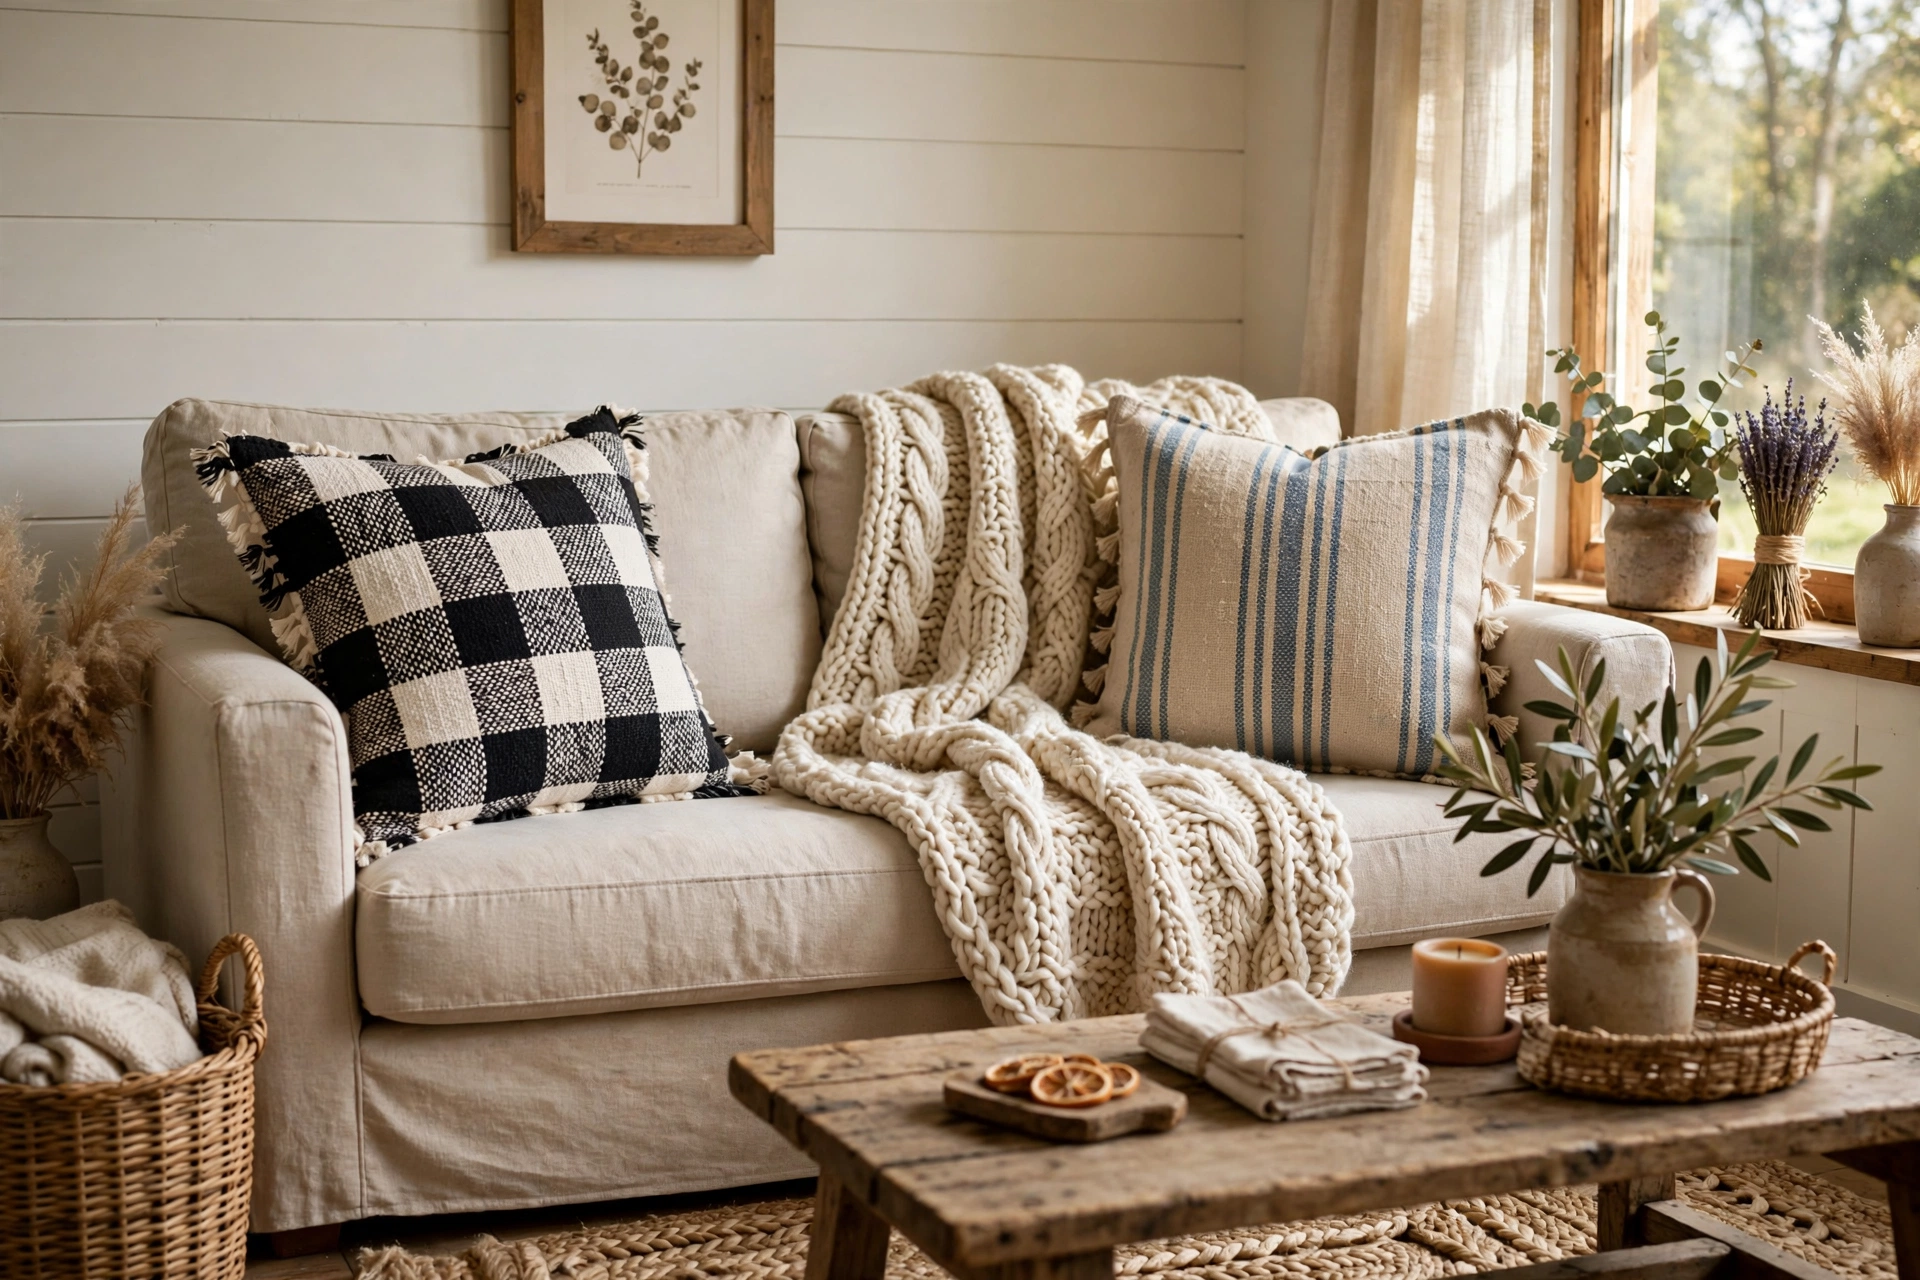
There is something a little magical about what new pillow covers can do to a room. I have seen a tired-looking couch come back to life in a single afternoon, no new furniture, no paint, just fresh covers in the right fabric. Throw pillows are the jewelry of a living room — they are the first thing you notice when you walk in and the easiest thing to change when the seasons turn. But here is the catch: a decent 18-inch throw pillow costs $12 to $25 at a big-box store, and when you want six of them for a seasonal refresh, that is a real chunk of change. Pillow covers, though? Those run $6 to $15 each, and the no-sew kind costs you almost nothing but a little time.
🍂 Pillows ready? Complete the look with our 25 cozy fall living room decor ideas.
This tutorial covers an envelope-style pillow cover — overlapping back panels, no buttons, no zippers, no sewing. Your first cover takes about 30 minutes (the second takes 15), and each costs roughly $6 to $9. If you can press an iron, you can do this.
What You’ll Need (Materials)
- 1 yard of fabric (54–60 inches wide) — makes two 18×18-inch covers. Choose home decor weight cotton, duck canvas, or light upholstery fabric — it holds its shape and looks store-bought. Find it at Joann, Michaels, Hobby Lobby, or dollar-store fabric bins ($4–$12 per yard).
- Iron-on hem tape — one roll (Heat n Bond or Dritz). This is the no-sew magic: heat from your iron glues the fabric together. One $4–$6 roll does 6–8 covers.
- Sharp scissors or a rotary cutter — clean cuts keep the edges from looking ragged. Fabric scissors, not your kitchen shears.
- An iron and ironing board (or a heat-resistant towel on a table).
- Ruler or measuring tape, plus a fabric marker or pencil for marking cut lines.
- 18×18-inch pillow inserts — reuse old ones, or buy at IKEA ($4–$8), Amazon, or HomeGoods. Tip: an insert one inch larger than the cover gives a plump, full look.
How to Make a No-Sew Envelope Pillow Cover
Here is the method, step by step. The “envelope” part means the back has two overlapping panels, like an envelope flap — you slip the pillow in and the overlap keeps it hidden. It is forgiving, beginner-friendly, and looks completely professional from the front.
Step 1: Cut your fabric
Cut one front piece 19×19 inches and two back pieces 19×14 inches (the extra inch is seam allowance, folded under later). Measure twice, cut once. With patterned fabric, center the prettiest motif on the front piece before cutting.
Step 2: Hem the back panels
Fold one 19-inch edge of a back panel under by ½ inch and press flat. Tuck hem tape into the fold against the crease, then press firmly for 10 seconds per section. Repeat on the second panel. Done looks like: a flat hemmed edge that does not lift when tugged.
Step 3: Lay out the envelope
Lay the front piece right side UP. Place the two back panels right side DOWN on top, hemmed edges toward the middle, overlapping 4–5 inches in the center. Line up all four outer edges — you are looking at the cover inside-out.
Step 4: Seal all four sides
One side at a time, fold the edge under ½ inch, slide hem tape into the fold, and press 10 seconds per section. Do all four sides, letting each cool before moving the fabric — the bond strengthens as it cools. Done looks like: flat, sealed edges with no gaps.
Step 5: Turn, stuff, and fluff
Turn the cover right-side out through the back opening. Push the corners out with a chopstick for crisp points, slip the insert in through the overlap, and fluff. Nobody will believe there is no stitching in there.
Tips for a Pro Finish
- Pre-wash cotton fabric before cutting if your covers will ever be washed — cotton shrinks, and a shrunken cover on an unshrunken insert is a sad sight.
- Use enough heat. A lukewarm iron is the #1 reason hem tape fails. Set it to the cotton/linen setting, no steam, and press — don’t slide.
- Mix patterns like a designer: pair one bold print with one stripe and one solid, all in the same color family. “Mix, don’t match” is the farmhouse golden rule.
- Cut inserts down if needed. A cover that is one inch smaller than the insert gives you that plush, karate-chop-worthy pillow. Slightly loose covers look deflated by comparison.
Troubleshooting
The hem tape won’t stick. Your iron is likely too cool, or you are sliding instead of pressing. Use the highest heat your fabric tolerates, press firmly 10 seconds per section, and hold the fabric still while it cools.
The back overlap gaps open. Widen each back panel by an inch next time, or overlap them more in Step 3. A snug, plump insert also holds the flaps shut.
Corners look lumpy. Trim the corner fabric diagonally before turning right-side out, then push each corner out with a chopstick.
FAQs
How do I wash no-sew pillow covers?
Machine wash gentle in cold water, inside-out; air dry or tumble dry low. High heat can soften the hem-tape bond, so cold water is your friend.
What size fabric do I need for a 20-inch pillow?
Add an inch all around to the measurements: cut the front 21×21 inches and the back panels 21×15 inches. The formula is simple: cover size + 1 inch for the front, and cover size + 1 inch by cover size × 0.8 for each back panel.
Will these hold up to kids and pets?
Surprisingly well. The hem-tape bond is strong once it cools, and the envelope style means there are no zippers to chew or buttons to lose. For heavy-use couches, choose a sturdy fabric like duck canvas — it shrugs off far more abuse than quilting cotton.
How do I store covers between seasons?
Slip them off, fold flat, and keep each seasonal set in a labeled bag. Flat covers take almost no space — one set of inserts serves all four seasons.
Fresh pillows are one of the fastest ways to make a living room feel brand new — pair these covers with 10 Cozy Living Room Ideas on a Budget, and see 12 Farmhouse Bedroom Ideas for a Cozy Retreat for more ways to layer them in the bedroom. Pin this tutorial to your Pinterest sewing board for seasonal-swap time!