
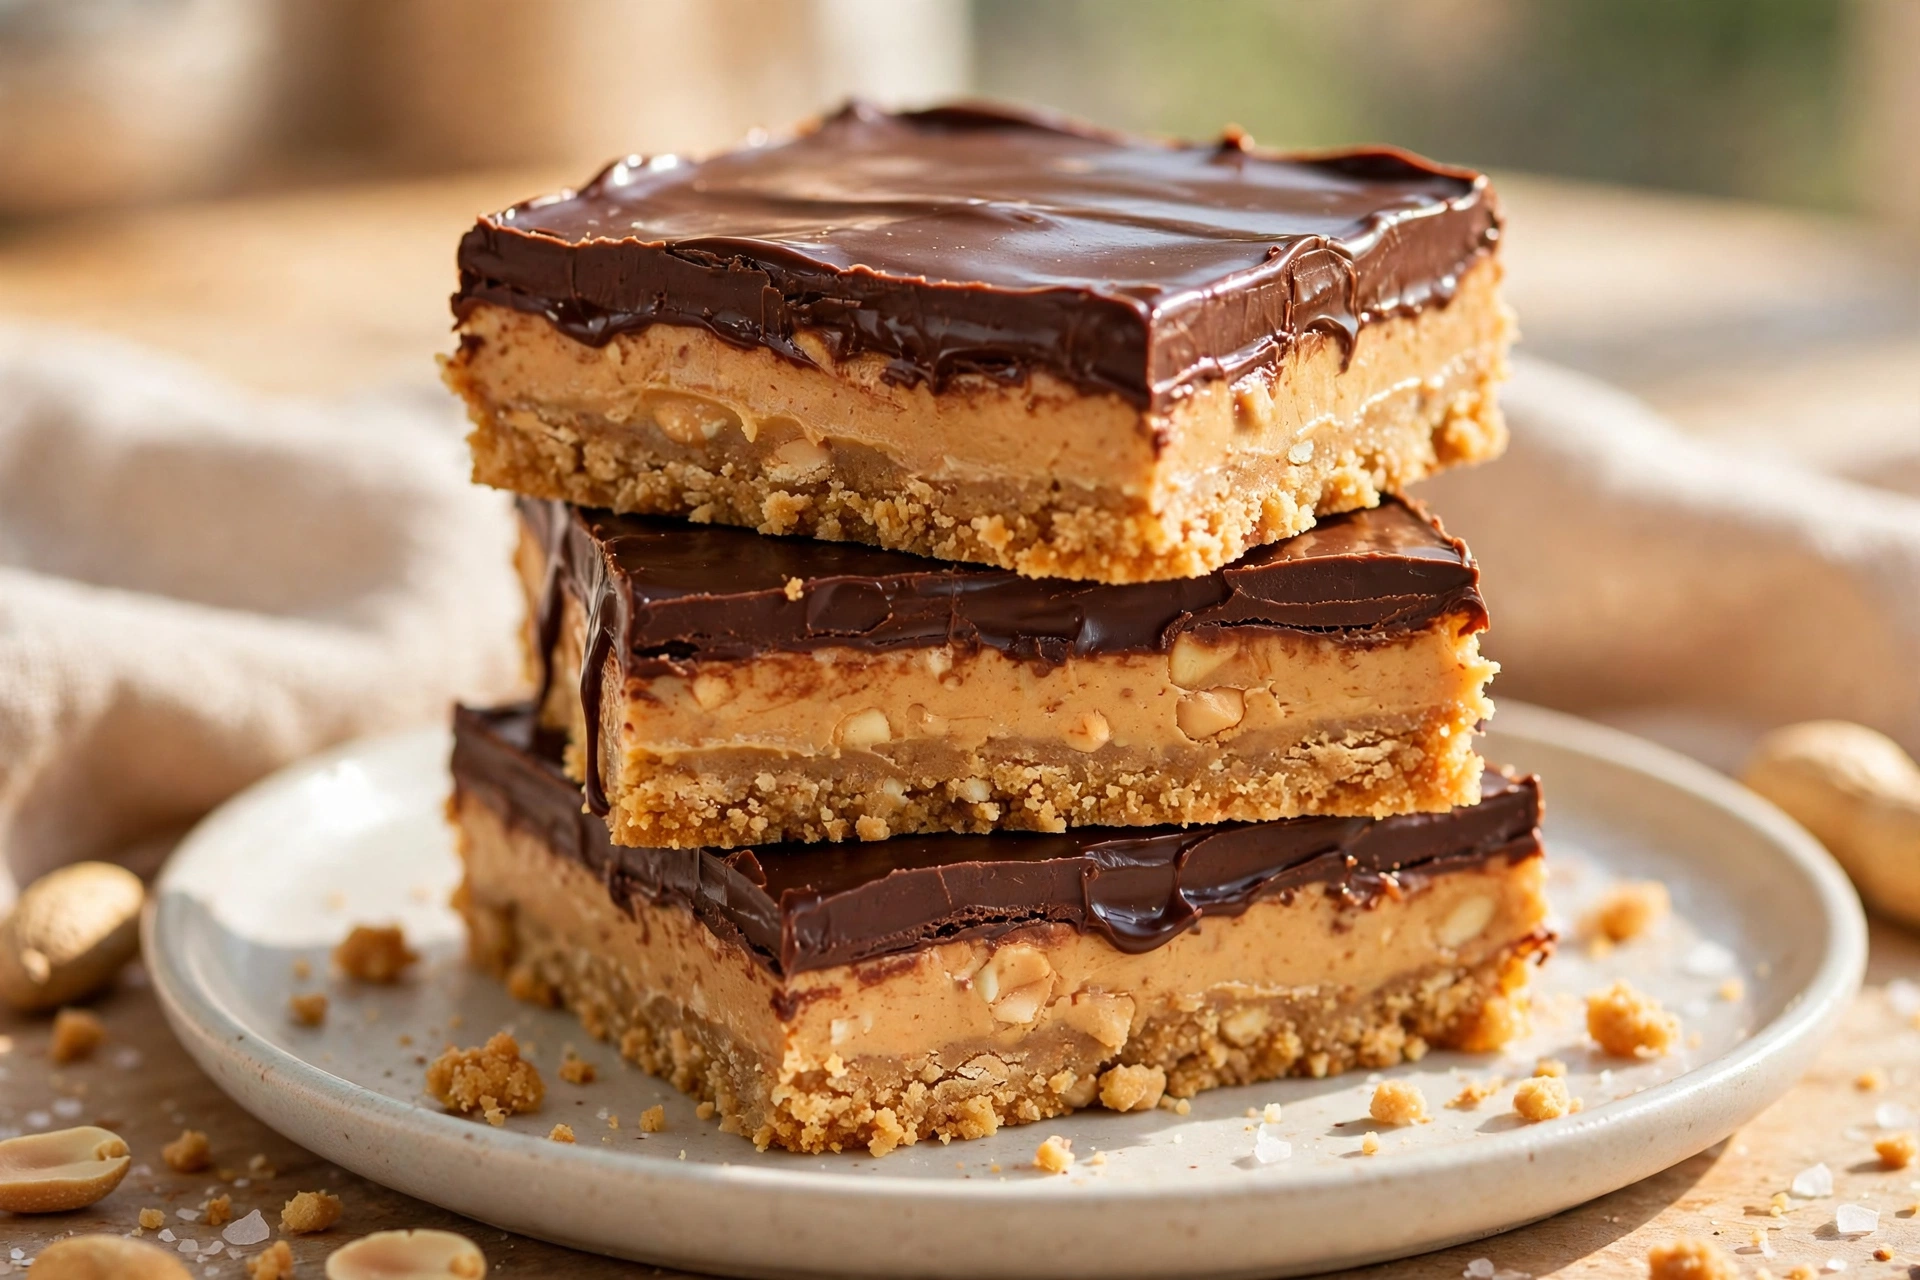
Some desserts ask a lot of you. These no-bake peanut butter bars ask almost nothing. There is no oven to preheat, no dough to chill overnight, and no candy thermometer to babysit. You stir a peanut butter base together, press it into a pan, spread a chocolate topping over it, and let the refrigerator do the rest of the work.
They taste like the peanut butter cups everyone reaches for first, but thicker, saltier, and more satisfying. The base is soft and dense rather than crumbly, and the chocolate layer on top snaps just enough when you cut through it. A pinch of flaky salt on top is optional, but it is the detail that makes people ask for the recipe.
This is the dessert to make when friends text that they are stopping by in an hour, when you need a bake-sale contribution on a busy weeknight, or when the oven is already busy with dinner. Keep the ingredients on hand and you are never more than a short chill away from a pan of something good.
Why This Recipe Works
The ratio is the whole secret. Too much powdered sugar and the bars turn dry and chalky. Too little and they will not hold their shape. This recipe uses just enough sugar to set the base firmly while keeping it soft at room temperature for a few minutes after slicing.
Melted butter binds everything together without making the bars greasy, and a full cup of creamy peanut butter gives a strong peanut flavor that does not get lost under the chocolate. The topping is a simple mix of chocolate chips and a spoonful of peanut butter, which keeps it smooth and easy to slice instead of hard and crackly.
Because nothing is baked, there is no risk of overbaking or drying out. The only real job is pressing the base evenly into the pan and waiting for the chill to set it.
What You Need
You probably have most of this in the pantry already. Creamy peanut butter works best here; natural peanut butter can separate and make the base oily, so save that jar for toast. Use a standard 8×8-inch pan lined with parchment paper, leaving overhang on two sides so you can lift the whole slab out for clean cutting.
For the chocolate topping, semisweet chocolate chips melt smoothly and balance the sweetness of the base. Milk chocolate works too if you prefer a sweeter bar, but the semisweet version is the one people tend to come back for.
How to Make It
Start by lining your pan with parchment and setting it aside. Melt the butter in a medium saucepan over low heat, then stir in the peanut butter until the mixture is completely smooth. Take it off the heat before adding the powdered sugar and vanilla, and stir until no dry streaks remain.
Press the mixture into the prepared pan with the back of a spoon or the bottom of a measuring cup. Work it into the corners and smooth the top as evenly as you can, since an even base means even bars.
For the topping, melt the chocolate chips with the extra peanut butter in short bursts in the microwave, stirring between each, until glossy and smooth. Pour it over the base and spread it gently to the edges. Sprinkle with flaky salt if you like, then refrigerate for at least 2 hours until firm. Lift the slab out, let it sit for 5 minutes so the chocolate does not crack, and slice into 16 bars with a sharp knife, wiping the blade between cuts.
Recipe Card
- Prep time: 20 minutes
- Cook time: 0 minutes
- Total time: 2 hours 20 minutes
- Servings: 16 bars
- Course: Dessert
- Cuisine: American
- Keyword: No-Bake Peanut Butter Bars
Ingredients
- 1 cup (2 sticks) unsalted butter, melted
- 1 cup creamy peanut butter, plus 2 tablespoons for the topping
- 2 cups powdered sugar, sifted
- 1 1/2 cups graham cracker crumbs
- 1 teaspoon vanilla extract
- 1/4 teaspoon fine salt
- 1 1/2 cups semisweet chocolate chips
- Flaky sea salt, for topping (optional)
Instructions
- Line an 8×8-inch pan with parchment paper, leaving overhang on two sides.
- Melt the butter in a medium saucepan over low heat. Stir in 1 cup peanut butter until smooth, then remove from the heat.
- Stir in the powdered sugar, graham cracker crumbs, vanilla, and fine salt until no dry streaks remain.
- Press the mixture firmly and evenly into the prepared pan.
- Melt the chocolate chips with the remaining 2 tablespoons peanut butter in the microwave in 30-second bursts, stirring between each, until smooth.
- Pour the chocolate over the base and spread to the edges. Sprinkle with flaky salt if using.
- Refrigerate for at least 2 hours, until firm.
- Lift the slab out using the parchment overhang, let it sit 5 minutes, and slice into 16 bars with a sharp knife.
Tips for the Best Bars
Press the base down firmly. A loosely packed base crumbles when sliced, so use the bottom of a measuring cup and real pressure. If the mixture feels sticky, dampen the cup lightly and it will release cleanly.
Chill the bars fully before cutting. Warm bars smear and the chocolate topping slides. Two hours is the minimum; overnight in the refrigerator works beautifully and actually improves the texture.
Use a hot, dry knife for the cleanest cuts. Run the blade under hot water, wipe it dry, cut once, and repeat. It takes an extra minute and the difference in how the bars look is worth it.
Variations
Swap the chocolate topping for a peanut butter drizzle and a handful of chopped roasted peanuts for a crunchier finish. For a holiday version, press crushed candy canes into the warm topping before chilling. A swirl of melted white chocolate over the dark topping looks lovely on a platter and adds nothing but a few minutes.
If you like a saltier bar, stir an extra pinch of salt into the base and finish with flaky salt on top. For a gluten-free version, use certified gluten-free graham cracker crumbs; everything else in the recipe is naturally gluten-free, but check your chocolate chips label to be sure.
Make-Ahead and Storage
These bars are made for making ahead. They keep in an airtight container in the refrigerator for up to 1 week, with parchment between layers so the chocolate does not stick. For longer storage, freeze the uncut slab or individual bars for up to 2 months; thaw in the refrigerator for an hour before serving.
They travel well, too. Pack them cold in a container with a lid, and they will hold their shape at room temperature for a couple of hours, which makes them a reliable choice for potlucks and bake sales.
Frequently Asked Questions
Can I use crunchy peanut butter?
Yes, but the texture changes. Crunchy peanut butter adds bits of peanut throughout the base, which some people love. The bars will be a little less smooth and slightly more crumbly, so press the base extra firmly if you go this route.
Why are my bars too soft?
The most common cause is under-chilling. The bars need a full 2 hours in the refrigerator to set. If your kitchen is warm, give them longer, and make sure the butter was fully melted and mixed in rather than just softened.
Can I use natural peanut butter?
It is not recommended here. Natural peanut butter separates and can leave an oily layer on top of the bars. If it is all you have, stir it very thoroughly and chill the bars longer, but expect a softer set.
Do these bars need to stay refrigerated?
They hold up at room temperature for a couple of hours, which is fine for serving. For storage, keep them in the refrigerator so the chocolate topping stays firm and the base keeps its shape.
Can I double this recipe?
Yes. Use a 9×13-inch pan and double every ingredient. The chilling time stays about the same, though a thicker slab may need an extra 30 minutes to firm up completely.
How do I get clean slices?
Let the chilled slab sit at room temperature for 5 minutes, then cut with a sharp knife wiped clean between cuts. A hot, dry blade gives the neatest edges through the chocolate layer.
These no-bake peanut butter bars are proof that a great dessert does not need an oven, a mixer, or a special occasion. Make a pan this week, keep it in the refrigerator, and watch how fast it disappears.