
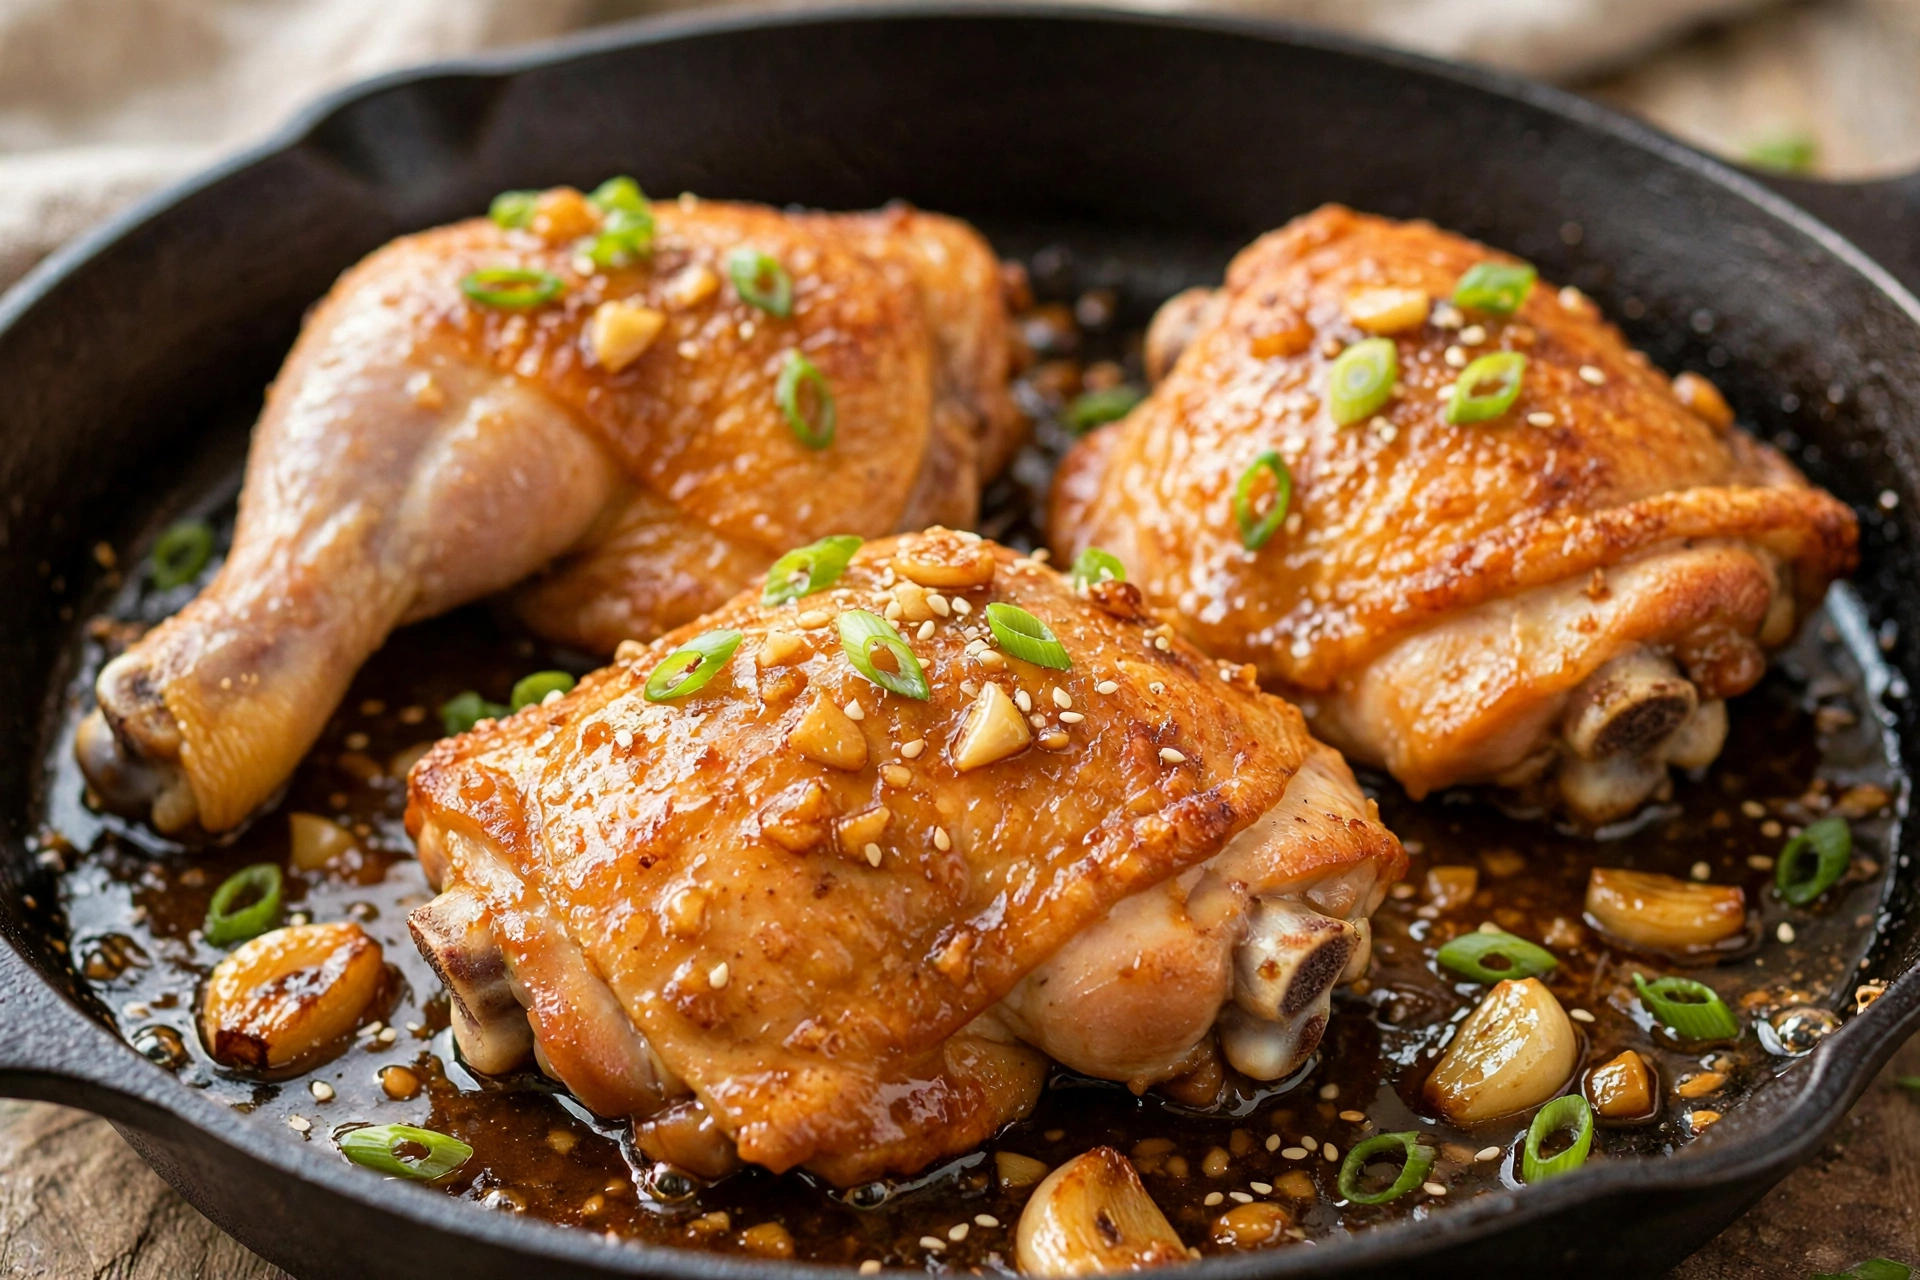
There are some dinners that everyone at the table agrees on, and honey garlic chicken thighs are one of them. The skin turns crisp and golden, the meat stays juicy, and the sauce — sweet honey, savory soy, and plenty of garlic — coats every bite with a sticky glaze that begs for a spoonful of rice or mashed potatoes underneath.
This is also a wonderfully low-effort recipe. The chicken sears in one skillet, the sauce comes together from pantry staples in a small bowl, and everything finishes in the same pan. In about 30 minutes, dinner is ready, and the pan sauce does most of the work of making it feel special.
Whether for picky kids or a busy weeknight, this recipe earns a place in regular rotation — simple enough for a beginner, good enough that nobody will guess how little effort it took.
Why This Recipe Works
Chicken thighs are the hero here, and for good reason. Unlike breast meat, which dries out quickly, thighs have enough fat to stay tender and juicy even if you cook them a minute too long. Bone-in, skin-on thighs give you the best of both worlds: crisp skin on top and rich, flavorful meat underneath.
Searing skin-side down first is essential. A hot skillet and a few undisturbed minutes render the fat and crisp the skin, which then protects the meat as it finishes cooking. Starting with the skin side also builds fond — those browned bits in the pan — that dissolve into the sauce and deepen its flavor.
The sauce balances sweet, salty, and sharp: honey brings sweetness and body, soy sauce brings salt and depth, garlic brings punch, and vinegar keeps it from tasting flat. Simmered briefly, it thickens into a glaze that clings to the chicken.
What You Need
A large oven-safe skillet is ideal, since the chicken starts on the stove and can finish in the oven if needed. Cast iron is perfect here. You will also need tongs, a small bowl for the sauce, and a meat thermometer if you want to check doneness with confidence — thighs are done at 165°F, though many cooks take them a little further for extra tenderness.
Choose bone-in, skin-on thighs for the best texture, though boneless thighs work with a shorter cooking time. You will need honey, soy sauce, garlic, vinegar, and a little butter. Fresh garlic matters here, so skip the jarred kind if you can.
How to Make Honey Garlic Chicken Thighs
Pat the chicken thighs very dry with paper towels and season them generously with salt and pepper. Dry skin crisps far better than damp skin, so do not skip this step.
Heat a tablespoon of oil in a large skillet over medium-high heat. Place the thighs skin-side down and cook undisturbed for 6 to 7 minutes, until the skin is deep golden and crisp. Flip and cook 3 to 4 minutes on the other side. Transfer the chicken to a plate and pour off all but a tablespoon of fat from the pan.
Reduce the heat to medium. Add the butter and garlic and cook for 30 seconds until fragrant — watch carefully, since garlic burns fast. Pour in the honey, soy sauce, and vinegar, scraping up the browned bits from the bottom of the pan. Simmer for 1 to 2 minutes until the sauce thickens slightly.
Return the chicken to the pan, skin-side up, and spoon sauce over the top. Simmer for 5 to 8 minutes, basting now and then, until the chicken reaches 165°F and the sauce is glossy and thick enough to coat a spoon. Rest for 5 minutes before serving, garnished with green onions and sesame seeds.
Recipe Card
- Prep time: 10 minutes
- Cook time: 20 minutes
- Total time: 30 minutes
- Servings: 4 servings
- Course: Dinner
- Cuisine: American
- Keyword: Honey Garlic Chicken Thighs Recipes
Ingredients
- 8 bone-in, skin-on chicken thighs (about 2 1/2 pounds)
- 1 tablespoon vegetable oil
- 1 teaspoon kosher salt
- 1/2 teaspoon black pepper
- 1 tablespoon butter
- 5 cloves garlic, minced
- 1/3 cup honey
- 3 tablespoons soy sauce
- 1 tablespoon apple cider vinegar
- 1/4 teaspoon red pepper flakes (optional)
- 2 green onions, sliced, for serving
- 1 teaspoon sesame seeds, for serving (optional)
Instructions
- Pat the chicken thighs very dry and season with salt and pepper.
- Heat the oil in a large skillet over medium-high heat. Cook the thighs skin-side down for 6 to 7 minutes until deep golden and crisp, then flip and cook 3 to 4 minutes more. Transfer to a plate.
- Pour off all but 1 tablespoon of fat. Reduce heat to medium, add butter and garlic, and cook 30 seconds until fragrant.
- Pour in the honey, soy sauce, and vinegar, scraping up the browned bits. Simmer 1 to 2 minutes until slightly thickened.
- Return the chicken skin-side up, spoon sauce over the top, and simmer 5 to 8 minutes, basting often, until the chicken reaches 165°F and the sauce is glossy.
- Rest 5 minutes, garnish with green onions and sesame seeds, and serve with extra sauce.
Tips for the Best Results
Dry skin is the single most important detail. If the thighs are damp from the package, the skin steams instead of crisping. Pat them dry, season, and let them sit uncovered in the refrigerator for 30 minutes if you have time — that extra drying makes a real difference.
Do not move the chicken while the skin sears — it releases on its own once browned. Flipping too early tears the skin.
Watch the garlic closely: burnt garlic turns bitter and spoils the sauce. If it darkens too fast, pull the pan off the heat before adding liquids.
Variations to Try
For a spicier version, add a tablespoon of sriracha or gochujang to the sauce, or increase the red pepper flakes. For a citrus twist, swap the vinegar for fresh lemon juice and add a teaspoon of lemon zest at the end. Boneless, skinless thighs work too — sear them for 4 minutes per side and shorten the final simmer to about 5 minutes.
This sauce also works on wings, salmon, or pork chops. Serve over rice or mashed potatoes so none of the sauce goes to waste.
Make-Ahead and Storage
Mix the sauce up to 3 days ahead and keep it refrigerated. Season the chicken a day ahead, covered, which also helps dry the skin. Leftovers keep in an airtight container in the refrigerator for up to 4 days.
Reheat gently in a covered skillet over medium-low heat with a splash of water, then uncover for a minute to re-crisp the skin. The microwave works in a pinch but softens the skin. Cooked thighs freeze well for up to 2 months; thaw overnight in the refrigerator before reheating.
Frequently Asked Questions
Can I use boneless chicken thighs?
Yes. Boneless, skinless thighs cook faster — sear about 4 minutes per side, then simmer in the sauce for 4 to 5 minutes until they reach 165°F. You will miss the crispy skin, but the sauce still gives plenty of flavor, and the dish comes together even faster.
Can I use chicken breast instead?
You can, but watch the timing closely. Breast dries out more easily, so sear it for 4 to 5 minutes per side and simmer only until it reaches 165°F. Pounding thick breasts to an even thickness helps them cook evenly. Thighs remain the more forgiving choice.
Why did my sauce not thicken?
Honey sauces thicken as they simmer and cool, so give it a full minute or two at a gentle bubble. If it is still thin, remove the chicken and simmer the sauce alone for another 2 to 3 minutes until it coats a spoon. Adding the sauce too early, before the pan is hot, can also slow thickening.
What should I serve with honey garlic chicken thighs?
Rice is the classic partner because it soaks up the sauce. Mashed potatoes, roasted broccoli, green beans, or a simple cucumber salad all work well. For a lighter plate, pair the thighs with steamed vegetables and a squeeze of lemon.
Can I bake this instead of finishing on the stove?
Yes. After making the sauce, return the chicken to the pan and transfer the whole skillet to a 400°F (200°C) oven for 10 to 12 minutes, basting once halfway through. This is handy if your stovetop is crowded or you are cooking a double batch.
Closing
Honey garlic chicken thighs are proof that a short ingredient list and one good skillet can still produce a dinner worth gathering around. Crisp skin, juicy meat, and a sticky, garlicky glaze — keep this one close, because it is the kind of recipe people ask for again.
More Recipes You’ll Love
- Creamy Garlic Butter Chicken Thighs
- Instant Pot Butter Chicken
- Creamy Tuscan Chicken
- Slow Cooker Chicken Tortilla Soup
- One-Pot Chicken Rice
Next Recipe: Snowball Cookies