
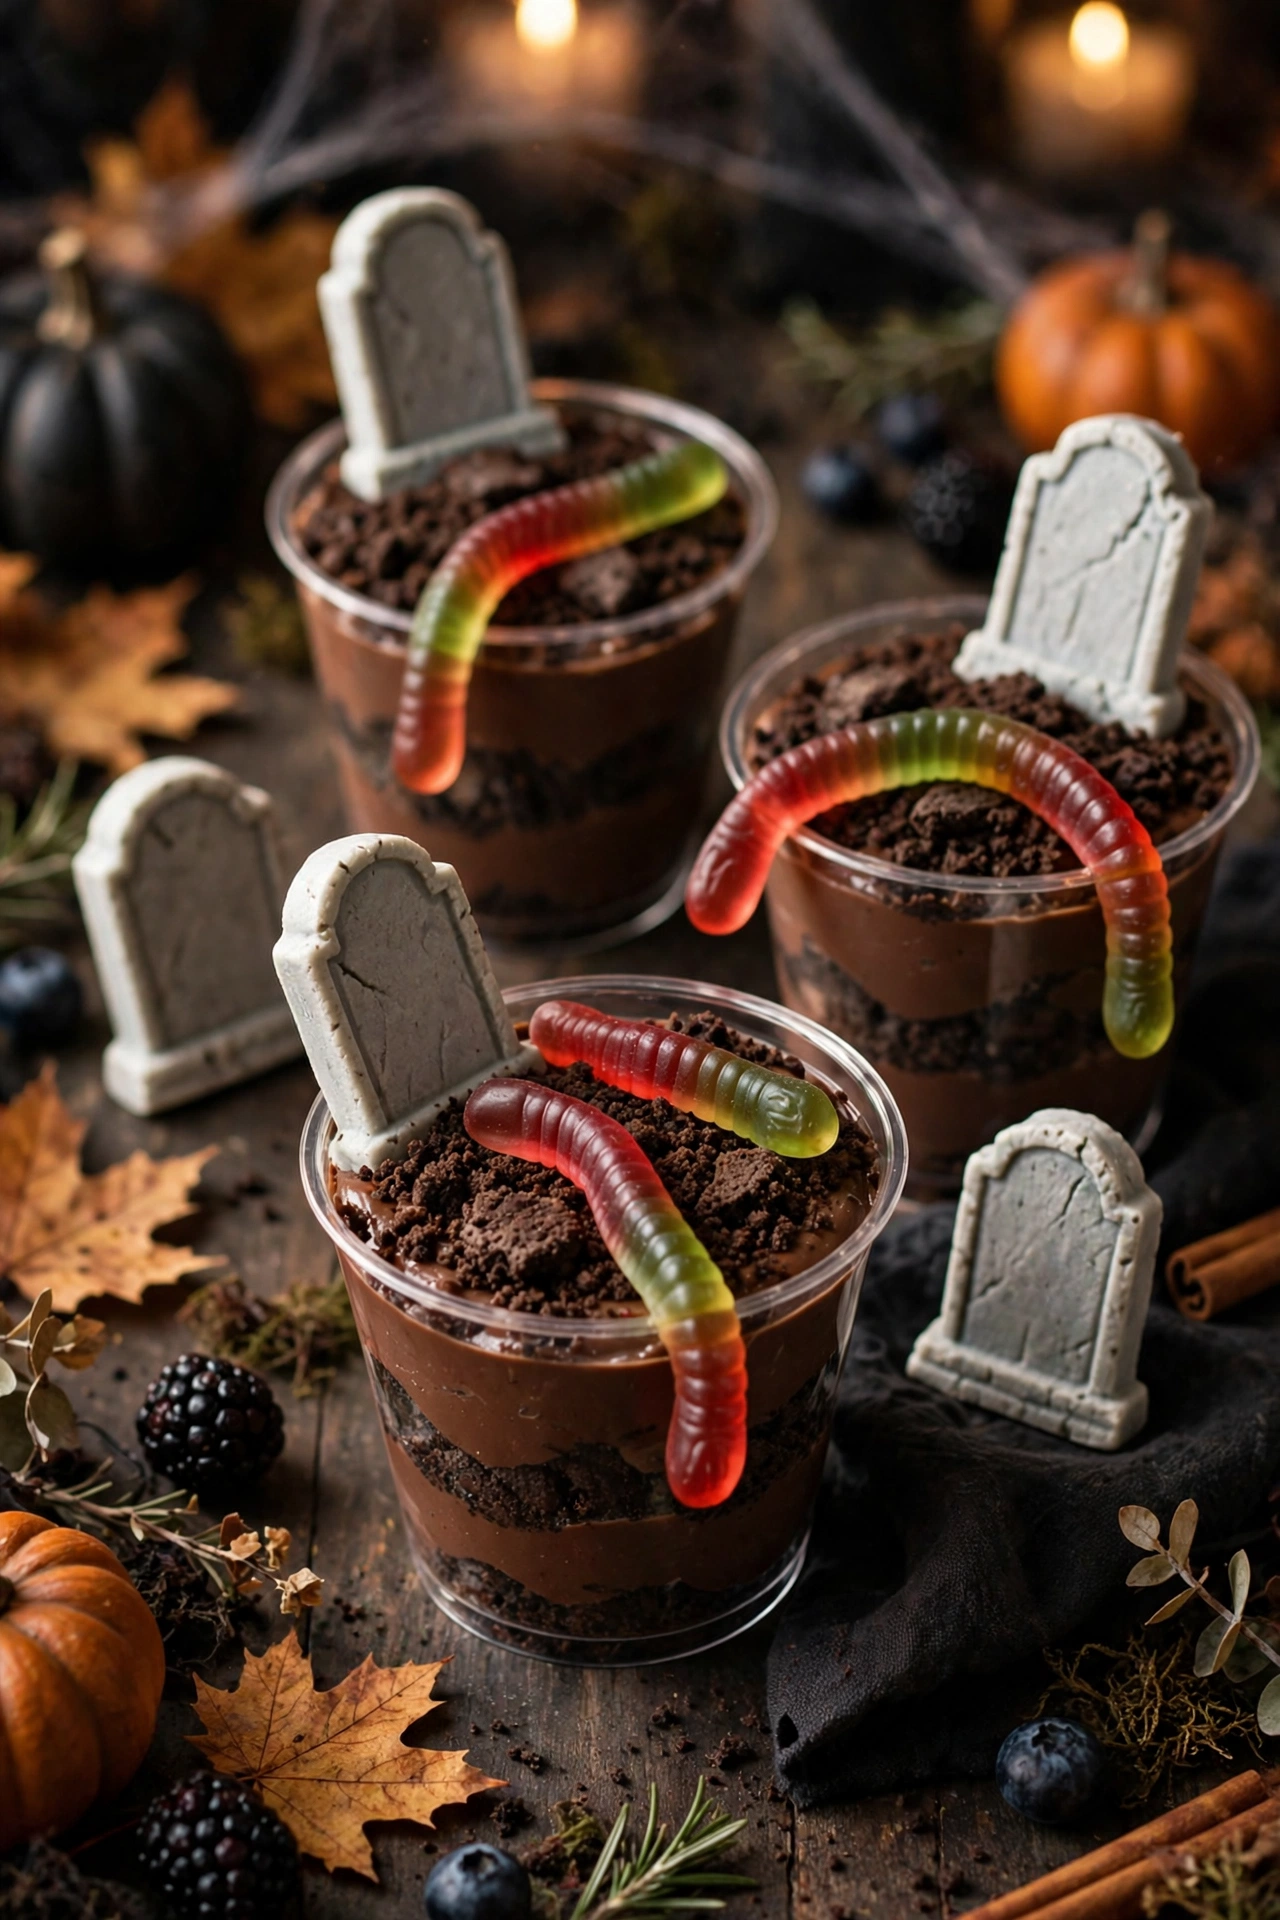
Some Halloween desserts look complicated, but the best party desserts are the ones children can help make and guests can grab with one hand. Cemetery dirt cups are exactly that kind of treat. They are small cups of chocolate pudding layered with crushed chocolate cookies, topped with a crumbly dirt layer, a candy tombstone, and a gummy worm crawling out of the top. They look spooky on the table, they taste familiar, and they take almost no baking skill.
The charm of this dessert is in the contrast. The pudding is cool and creamy, the cookie crumbs are crunchy and rich, and the candy decorations add a playful, silly touch that keeps the theme fun rather than scary. Adults enjoy them because they are easy to serve and easy to eat while standing and talking. Children enjoy them because they get to build their own little graveyard, worm and all.
This is also a forgiving recipe. There is no oven work, no frosting technique, and no precise decorating skill needed. If a tombstone leans a little, it looks even more like an old graveyard. If the dirt layer is uneven, it looks more realistic. The recipe below makes eight cups, which is enough for a small party, and it doubles cleanly if you have a larger crowd.
Why Cemetery Dirt Cups Work for a Party
A good party dessert needs to be portable, make-ahead friendly, and easy to recognize at a glance. Dirt cups check all three boxes. Each cup is a single serving, so there is no slicing, no plating, and no mess at the dessert table. Guests can pick one up, eat it with a spoon, and keep mingling.
They are also a make-ahead dream. You can assemble the cups the day before, cover them, and chill them overnight. The pudding sets, the cookie crumbs soften just slightly at the edges, and the flavors settle together. On party day, you only need to add the tombstones and worms just before serving, so the decorations stay crisp and upright.
What You Need
The ingredient list is short, and most of it keeps well in the pantry, which makes this a good last-minute party choice. You need instant chocolate pudding mix, cold milk, and whipped topping for the creamy base. Crushed chocolate sandwich cookies provide the dirt, and you will want extra crumbs for the top layer so each cup looks freshly dug.
For decorations, you need rectangular cookies or small candy bars that can stand up as tombstones, plus gummy worms. Candy tombstones from a baking aisle work well, but a simple rectangular cookie with a little frosting writing also works. If you cannot find candy tombstones, a small piece of chocolate bar, pressed into the pudding at an angle, gives the same effect.
How to Assemble Cemetery Dirt Cups
Start by making the pudding according to the package directions, using cold milk and whisking until it thickens. Let it sit for a few minutes so it firms up, then fold in the whipped topping until the mixture is smooth and light. This folding step matters: it turns plain pudding into a softer, mousse-like filling that spoons easily and holds its shape in a cup.
Crush the cookies next. A zip-top bag and a rolling pin work well, or a food processor can do the job in seconds. Aim for a mix of fine crumbs and a few slightly larger pieces, so the dirt looks textured rather than dusty. Set aside about a cup of crumbs for the top layer, and use the rest for the middle layers.
Now layer each cup. Start with a spoonful of pudding, then a spoonful of cookie crumbs, then another layer of pudding. Repeat until the cup is nearly full, and finish with a generous layer of crumbs on top. Press the top crumbs down very gently, just enough that they stay in place. Do not press hard, or the pudding will squeeze up the sides.
Chill the cups for at least an hour, covered, so the pudding sets fully. Just before serving, press a tombstone cookie into the back of each cup, tilted slightly, and lay a gummy worm over the edge so part of it hangs out of the cup. Add any extra decorations at this point, and serve chilled.
Recipe Card: Cemetery Dirt Cups
Prep time: 20 minutes. Chill time: 1 hour. Total time: 1 hour 20 minutes. Servings: 8 cups.
Ingredients
- 2 packages (3.9 ounces each) instant chocolate pudding mix
- 4 cups cold milk
- 1 container (8 ounces) whipped topping, thawed
- 30 chocolate sandwich cookies, crushed, divided
- 8 rectangular cookies or candy tombstones
- 8 gummy worms
- Green-tinted shredded coconut, optional, for grass
Instructions
- Whisk the pudding mix and cold milk in a large bowl for 2 minutes, until thickened. Let stand for 5 minutes.
- Fold the whipped topping into the pudding until smooth and evenly combined.
- Crush the chocolate sandwich cookies into fine and slightly coarse crumbs. Reserve about 1 cup for topping.
- Spoon 2 tablespoons of pudding into each of 8 clear cups. Top with 1 tablespoon of cookie crumbs.
- Repeat the pudding and crumb layers until each cup is nearly full, ending with pudding.
- Top each cup generously with the reserved cookie crumbs, pressing very gently.
- Cover and chill for at least 1 hour, until the pudding is fully set.
- Just before serving, press a tombstone cookie into the back of each cup and lay a gummy worm over the edge. Add coconut grass if using, and serve chilled.
Tips for the Best Dirt Cups
Use instant pudding, not cook-and-serve, for this recipe. Instant pudding sets quickly and holds its shape in a cup, while cook-and-serve pudding can stay loose and make the layers run together. If your pudding seems thin after whisking, give it the full five minutes to stand before folding in the whipped topping.
Do not over-crush the cookies for the middle layers. A mix of textures looks more like real dirt and gives each spoonful a little crunch. Save the finest crumbs for the very top, where they read as freshly turned soil.
Chill the cups before decorating. Warm pudding will not hold a tombstone upright, and the worm will slide. Cold, set pudding grips the decorations and keeps them in place while guests carry their cups around the party.
Variations to Try
For a cookies-and-cream version, use vanilla pudding instead of chocolate and keep the chocolate cookie crumbs. The contrast is lighter in color and a little sweeter, and it still looks like dirt against the pale pudding.
For a peanut butter version, stir two tablespoons of creamy peanut butter into the pudding before folding in the whipped topping, and top with crushed peanut butter cups. The flavor is richer, so smaller cups work well for this version.
Make-Ahead and Storage
Assemble the cups, without decorations, up to one day ahead. Cover each cup tightly with plastic wrap and refrigerate. The pudding will set, and the crumbs will soften slightly, which most people enjoy. Add tombstones and worms just before serving so they stay crisp.
Leftovers keep in the refrigerator for up to three days, covered. The cookie topping will soften over time, so leftovers taste best on the second day, when the crumbs are still a little crunchy. Do not freeze dirt cups, because the pudding texture changes when thawed and the decorations become soggy.
Frequently Asked Questions
Can I make cemetery dirt cups without whipped topping?
Yes. Use sweetened whipped cream, whipped to soft peaks, folded in gently, and chill 30 minutes longer.
What can I use if I cannot find candy tombstones?
Use a rectangular cookie, a small chocolate bar piece, or a graham cracker rectangle, pressed in at an angle.
Are dirt cups safe for nut allergies?
Not as written. Check the cookie package and choose a certified nut-free cookie for guests with allergies.
Can I make dirt cups in a large trifle bowl instead of cups?
Yes. Layer pudding and crumbs in a clear trifle bowl, decorate the top, and let guests spoon servings. Cups are neater, though.
How far ahead can I decorate the cups?
Decorate no more than one hour before serving, so tombstones stay crisp and worms do not get sticky.
Cemetery dirt cups prove that a Halloween dessert does not need to be complicated to be memorable. With creamy chocolate pudding, crunchy cookie dirt, and a silly little graveyard on top, you have a no-bake treat that children love to build and adults love to eat.