
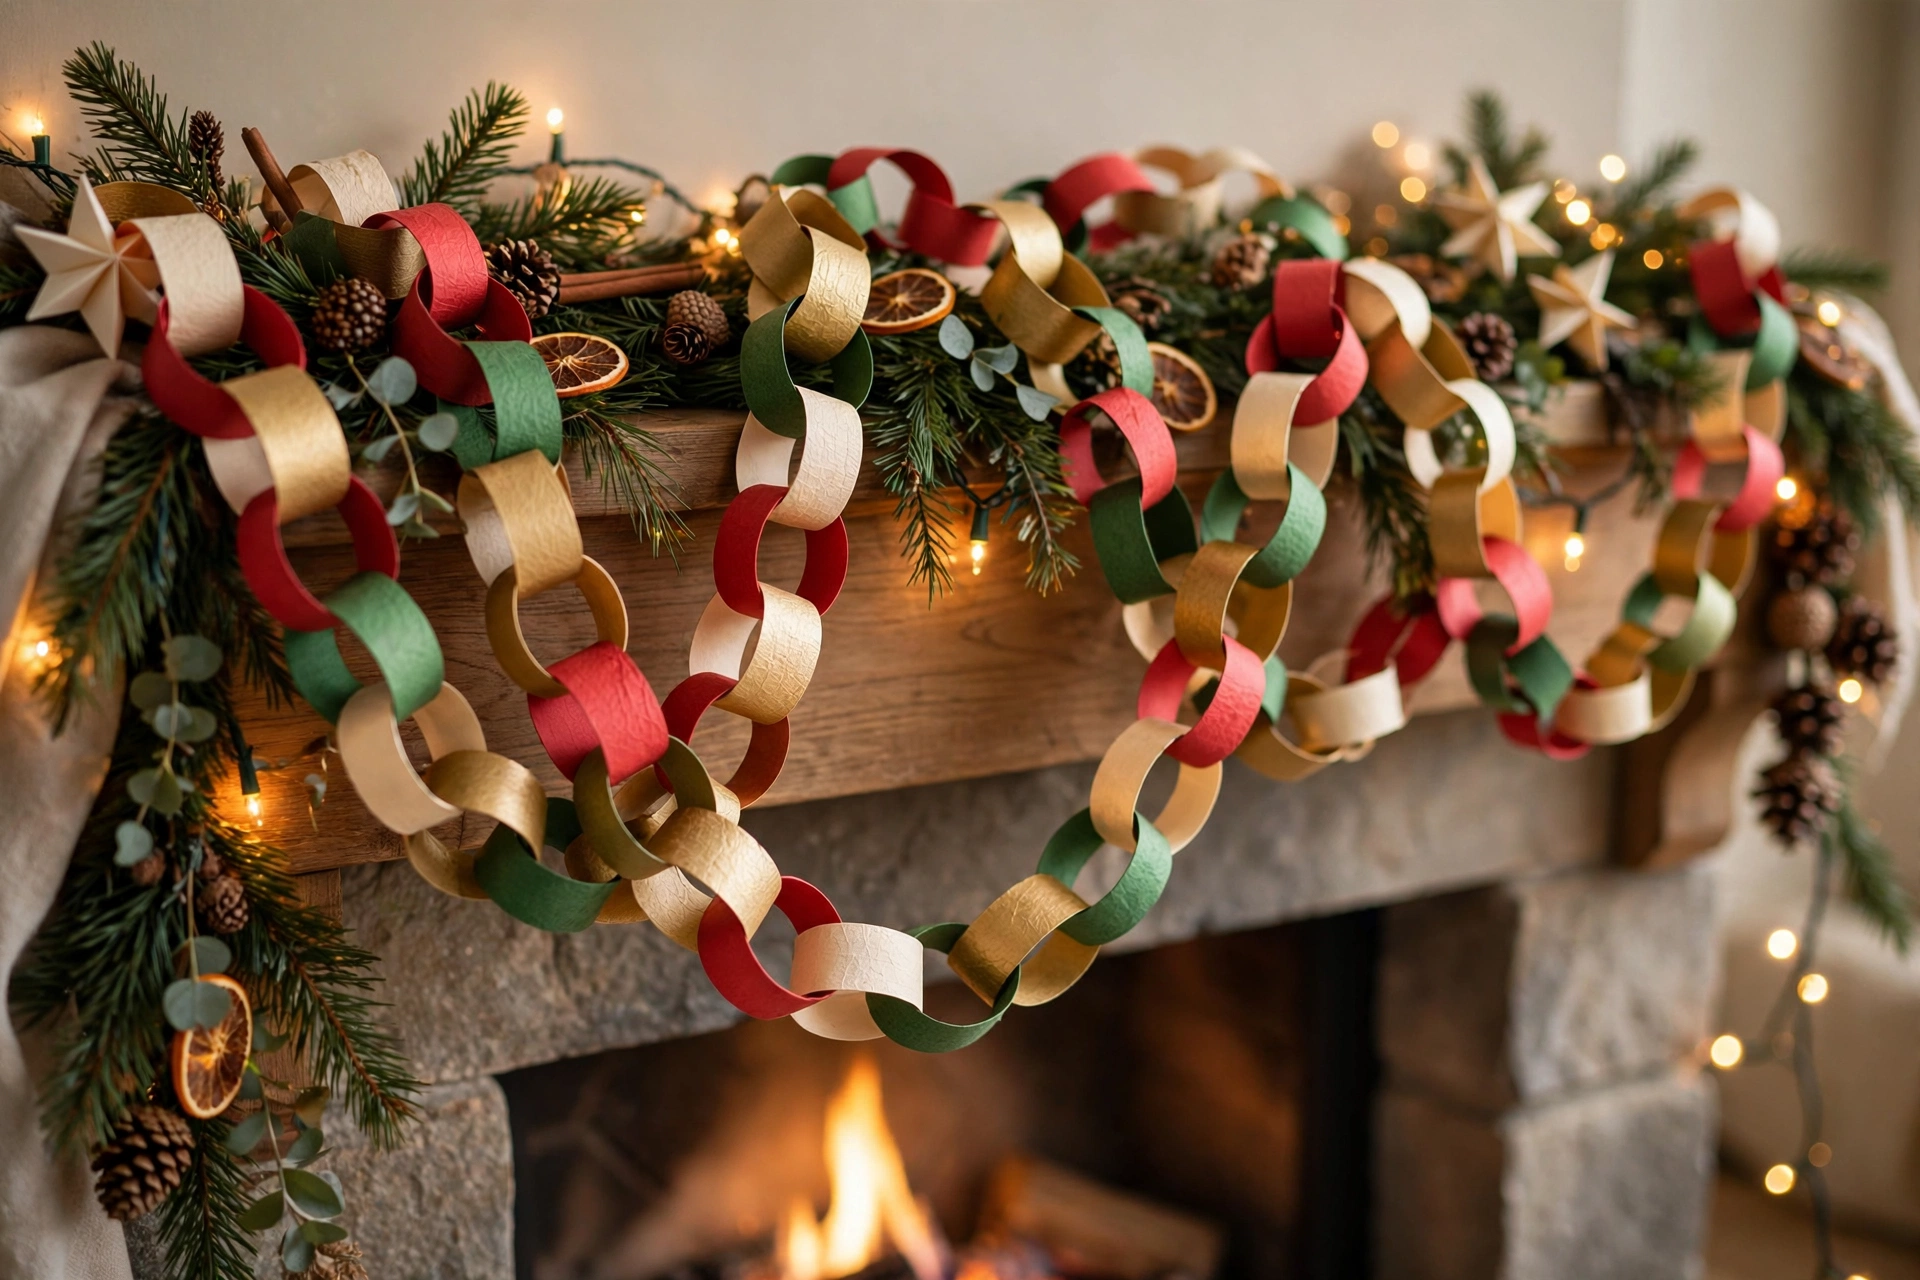
There is something wonderfully old-fashioned about a paper chain. Families once sat around the kitchen table with colored paper, scissors, and glue, turning a quiet afternoon into a garland that stretched across the room. A Christmas paper chains DIY project brings that feeling back, without fancy tools, a big budget, or any crafting experience. If you can cut a strip and loop it into a circle, you can make a chain that looks cheerful and completely your own.
It is also a rare holiday project that truly works for the whole household. Grown-ups can settle into a calm rhythm while holiday music plays, and children can pick colors, count links, and watch paper slowly turn into something long enough to hang. Before you begin, decide where your chain will live, and measure the space loosely with string, adding a little extra for draping. Chains look best with a soft dip in the middle rather than pulled drum-tight.
What You Will Need
You probably already have most supplies at home: colored paper or light card, scissors, glue sticks or a stapler, a ruler, a pencil, and string or twine for wide spans. Construction paper is the classic choice because it holds its shape yet loops easily. Scrapbook paper adds lovely patterns, while plain printer paper works well for a kid-friendly version.
Choose a color story before you cut. Classic red and green with gold is timeless against pine and warm lights. Cream, gold, and soft sage feels calmer and suits a mantel with candles and greenery. A rainbow mix is pure joy and often the favorite when children choose. Keep one neutral, such as cream or kraft, in the mix so brighter colors have somewhere to rest.
How to Make a Classic Paper Chain
Cut your paper into strips about one inch wide and eight to ten inches long. Use a ruler and pencil for the first strip, then stack a few sheets and cut them together if your scissors manage it cleanly. Consistent strips are the secret to an even chain, so take your time here and set any crooked strip aside for practice.
Make your first loop by curling one strip’s ends together with about half an inch of overlap, securing them with glue or a single staple. Hold a glued link for a few seconds until it grips, then let it dry fully. This first link anchors everything, so make it snug: a loose first loop can twist the whole chain.
Thread the second strip through the first loop before closing it, then glue or staple its ends together. You now have two interlocked rings. Repeat the same motion — thread, loop, secure — alternating colors in a steady pattern or letting them fall where they may. It quickly becomes a soothing rhythm, easy to enjoy alongside music or conversation.
When the chain is long enough, finish it to suit its home. For a straight garland, leave the last link closed. For a looped garland, join the ends with one final strip threaded through both end links. For a doorway, thread string through the top of every few links so the weight is shared. Then fluff the links gently so they sit evenly.
Fun Variations to Try
A patterned paper chain uses scrapbook prints like gingham, stars, or plaid, and instantly looks more dressed up. Mix one strong pattern with two solid colors so the print stands out without overwhelming the garland. Patterned chains look especially lovely on a tree, where prints catch the light between ornaments.
A chain with written wishes inside each link turns decoration into tradition. Before closing a link, write a wish, memory, or simple activity inside the strip, such as bake cookies together. Each day in December, snip off one link and read it. Children love the countdown surprise, and it builds small shared moments into a busy season.
A garland with stars adds sparkle: cut stars from gold or glitter card and attach one every five or six links with glue or string. For a kid-friendly chain, let children choose colors, cut wider strips that are easier to handle, and use glue sticks instead of a stapler. Wider links are forgiving, and the result still looks wonderful.
Where to Hang Your Paper Chains
A mantel is the classic home. Drape the chain in a soft swag, letting ends fall gently down each side, and tuck greenery or battery candles behind it. Use small removable hooks or tape on the back edge so it stays put without damage. Keep paper well away from real candle flames, and choose battery candles near any paper decoration.
Doorways are another lovely spot: hang the chain high enough that nobody ducks, and secure both ends firmly. On the tree, wind it gently around the branches from top to bottom, resting it on the outer tips rather than pulling it tight. It pairs beautifully with simple ornaments and warm white lights, giving the tree a nostalgic, storybook feel.
Tips for Even Links and a Longer-Lasting Chain
Measure the first few strips carefully and use them as a template, and cut all strips at the start for a long chain. Press each glued overlap firmly and let it set before tugging, since a link that pops open later can unravel the chain. Staples are stronger, but fold their ends flat or choose glue for chains children will handle. Keep the finished chain away from damp spots, direct sunlight, and heaters, and it should look just as good on Christmas Day as on the day you made it. After the season, fold it gently into a tissue-lined box, or recycle it and make a fresh one next year.
Budget and Safety Notes
This project is honestly inexpensive. Most households already own the paper and glue, and a pack of colored paper plus a glue stick or two is generally low-cost and enough for several garlands. Patterned paper and glitter card cost a little more, so use them as accents to keep the project gentle on your wallet. For safety, children should use scissors only with supervision, younger children do best with blunt-tipped safety scissors, and staplers need fingers kept clear plus a check for sharp ends. Glue sticks are the gentlest choice for young crafters, and covering the table makes cleanup easy.
Frequently Asked Questions
How long does it take to make a paper chain?
About twenty links take under half an hour once strips are cut; a long mantel or tree garland can take an hour or two at a relaxed pace.
What kind of paper works best for paper chains?
Construction paper holds its shape well, light card is sturdier, and scrapbook paper adds pattern. Thin printer paper works but tears more easily.
How do I keep my paper chain from falling apart?
Press glued overlaps firmly, let them dry, and overlap by about half an inch. Staples add strength for longer garlands.
Can children make paper chains safely?
Yes, with supervision: blunt-tipped scissors, glue sticks instead of staples, and wider strips that are easier to loop.
How do I store a paper chain after Christmas?
Fold it gently into a tissue-lined box kept dry and away from heat. Re-glue any link that pops open next year.
Can I use wrapping paper or recycled paper for a chain?
Absolutely. Glossy wrapping paper may glue less well, so staples often work better, while kraft paper makes a charming rustic chain.
A Simple Decoration Worth Making
In the end, a paper chain is not really about the paper. It is about the afternoon spent making it, the hands that helped, and the way a simple garland makes a room feel warmer. It costs little, needs no special skill, and carries a homemade cheer no store-bought decoration quite matches. Gather your paper, clear the table, and start with just one link.